All You Need to Know
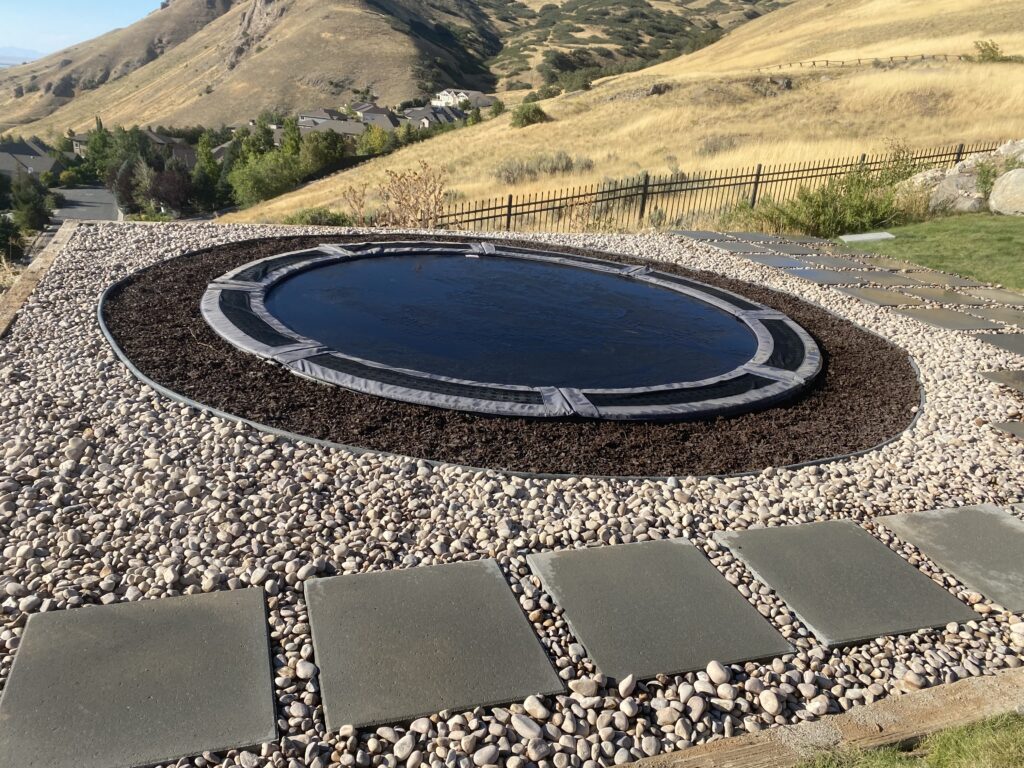
In-ground trampolines are a practical and aesthetically pleasing alternative to traditional above ground trampolines. Anyone can have a sunken trampoline installed in their yard for fun and exercise and it won’t take away from the view. To ensure a long-lasting and safe installation of the in-ground trampoline, it’s necessary to have a retaining wall attached to the trampoline frame.
What Is a Trampoline Retaining Wall?
A trampoline retaining wall is a wall or barrier that braces your in-ground trampoline against the sides of the pit you excavate. Without a retaining wall, soil will fall back into the hole, ruining your landscaping, making the trampoline unstable and potentially causing damage to the trampoline or anyone using it. The wall can be made of metal panels, plastic panels, bricks, concrete blocks or something else such as railroad ties.
Why Do You Need a Retaining Wall?
There are many areas across the US where it’s a great idea to have some outdoor equipment to take advantage of the weather. An in-ground trampoline can get the whole family fit and active while staying in your own backyard.
Also known as sunken or buried trampolines, in-ground trampolines need to be installed correctly to get the best out of them for years to come. You may think you can just dig a hole, put a regular trampoline inside and call it a day but here’s where the wall comes in:
- Even desert states can have a variety of soil types within them. The most common soil type is Mivida soil, which is mostly sandy in texture. This means that a retaining wall is definitely necessary in backyards across the West as this loose soil will be prone to caving in and collapsing back into your trampoline pit.
- Retaining walls hold back the soil around the trampoline pit, stopping loose soil, dirt and rocks from falling back under the trampoline. Debris and soil under the trampoline reduces the bounce height and can cause damage to the mat and jumper.
- Installing a retaining wall allows a stable surface above ground too, meaning that you can carry on landscaping and mowing right up to the edge of the trampoline without worrying about the ground caving in or inaccessible grass areas.
Types of Retaining Walls
When sinking a trampoline, there are a few types of retaining walls to consider. Some people choose to build their own retaining wall while others decide to purchase one. Regardless of the route chosen, it is always helpful to know what options are out there.
- TDU Trampoline Retaining Wall System: Trampolines Down Under is a brand that specializes in sinking trampolines for a better and safer bounce. These retaining walls are made from a series of lightweight, yet durable, plastic panels. These weather resistant panels lock together for a quick and easy installation with no sharp edges.
- Plastic Retaining Walls: These retaining walls are a cost effective, lightweight option. They are slightly more flexible adding even more to the jumping experience. These retaining walls are also water resistant and will last for years.
- DIY Retaining Walls: People can get creative when it comes to building and installing their own retaining wall. Someone interested in this route may choose a retaining wall made from bricks and an mortar, corrugated steel, concrete, concrete blocks, or railroad ties. There are plenty of guides and resources out there to learn how to build a DIY retaining wall.
Where to Purchase a Retaining Wall
Trampoline retaining walls can be purchased at a variety of locations. These can be found at home improvement suppliers, outdoor hardware shops, and even online.
How to Install a Retaining Wall
Before installing a retaining wall, make sure you know which wall you’re going to use. You’ll also want to make sure all the necessary preparation is done such as researching soil type, looking into the water table level to determine if you’ll need a drain, ensuring the trampoline hole is larger than the trampoline and that you are confident in the installation steps. Depending on the retaining wall you build, you will want to locate ample resources and step by step guides for your retaining wall. Generally the process is as follows:
- Measure your trampoline and dig a hole about 3ft deep and 1ft wider than the width of the trampoline.
- Assemble your retaining wall.
- Once the retaining wall is in the hole, use the excess dirt from the hole to backfill between the edge of the hole and the retaining wall.
Trampoline Retaining Wall Services
When installing an in-ground trampoline, you may not be able to build a retaining wall yourself. This is where a pre-made kit or even a complete trampoline bundle may come in useful. There is also labor involved:
- digging out the hole to bury your trampoline
- potentially adding drainage
- attaching the retaining wall to the frame
- adding the springs and mat to the frame
- installing the trampoline into the hole
- backfilling the pit and space between the retaining wall and the edge of the hole
If you’re not able to do this by yourself, you have the option of using a full service installation company, available throughout the country. They will be able to handle everything from excavating the pit to fitting the retaining wall to making everything neat and tidy at the end.
Professional Retaining Wall Installation
To avoid mistakes, damage or having to re-install your buried trampoline in the future, get it right the first time and use a professional service to install your in-ground trampoline and retaining wall. Customers using a professional company can relax and enjoy their new trampoline to the fullest, knowing that it’s safely anchored in a stable environment.


